

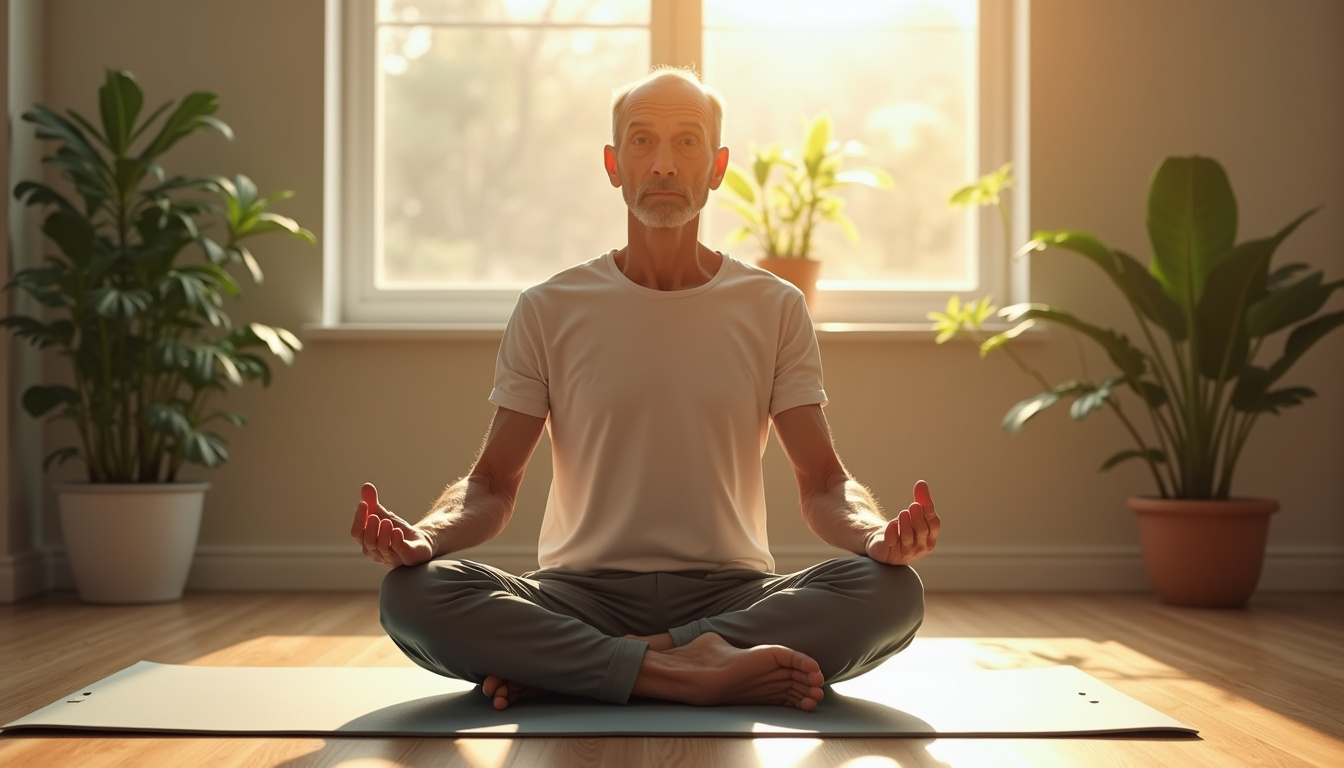
For many dedicated practitioners in the U.S., yoga for joint pain means relief and continued time on the mat. It means keeping your sadhana and moving through life with ease. When wrists hurt in Down Dog, knees protest in Virasana, or hips resist deep turns, your practice feels strained. The good news is that smart sequencing, joint‑friendly alignment, and the right daily poses can restore mobility while you honor your body’s limits.
This article targets experienced or emerging yogis with musculoskeletal stiffness, twinges, or discomfort. It does not diagnose or treat any medical condition. When in doubt, consult a licensed healthcare provider.
Why yoga for joint pain works differently for practitioners
Yogis move in their own way. You load joints in long holds, deep stretches, and weight-bearing inversions. That is why yoga for joint pain needs a special focus on:
- transitions (like moving from Down Dog into Chaturanga)
- end-range flexibility (think hanumanasana or deep hip openers)
- sustained contact with the floor (as seen in kneeling, sitting on heels, or wrist extension)
A smart, joint-focused sequence works by:
- Lubricating joints with mindful movement.
- Activating small stabilizer muscles.
- Building strength through mid-range motion, not only at deep stretches.
- Sharpening body awareness so you ease off before pain turns to injury.
The goal is not merely deeper poses. It is about smoother moves, even load distribution, and sustaining a lifelong practice.
Ground rules: practicing safely with joint discomfort
Before you try the poses, keep these clear points in mind:
- Pain vs. sensation: Mild stretching or muscle effort is fine. Sharp, catching, or burning joint pain means stop.
- Ego off the mat: Modify, use props, and skip poses that strain the joints.
- Warm joints, not just muscles: Use slow circles and low-load moves before you hold any static poses.
- Consistency over intensity: Ten to twenty mindful minutes daily beat one long, heroic session.
If any move causes worsening pain, pause your practice and check with a health professional.
A simple daily sequence: yoga for joint pain from head to toe
You can add these poses to your current practice or do them as a stand‑alone 15–25 minute sequence. Move slowly, stay with each breath, and practice non‑grasping (aparigraha) with your range of motion.
1. Cat–Cow with wrist options (spine & wrists)
Why: It gently moves the spine and introduces light load on the wrists.
• Start in tabletop with wrists under shoulders and knees under hips.
• If your wrists hurt, place fists down or lower onto forearms.
• Inhale and arch the back (Cow), opening your collarbones.
• Exhale and round the back (Cat), pressing the floor away.
• Do 8–10 slow cycles, matching your breath with your movement.
Keep a micro-bend in your elbows so they do not lock; spread your weight evenly on your hands or forearms.
2. Low Lunge variations (hips, knees, ankles)
Why: It opens the hip flexors and supports knee alignment.
• From tabletop or Down Dog, step your right foot forward.
• Lower the back knee onto a folded blanket or extra mat.
• Place the front knee over the heel without collapsing forward.
• Rest your hands on blocks beside the front foot.
Hold for 5–8 breaths on each side.
Options:
• If your front knee is sensitive, shorten the stance so it does not push over your toes.
• If your back knee hurts, add more padding and tuck your back toes in just a bit.
3. Supported Bridge Pose (low back, hips, knees)
Why: It strengthens the back chain and gently decompresses the spine and hips.
• Lie on your back with knees bent and feet at hip width.
• On an exhale, press your feet and lift your hips enough to slide a block under your sacrum (the lowest part of your back).
• Let your weight rest on the block and adjust for comfort.
Stay here for 1–3 minutes with gentle belly breathing.
Keep your knees aligned with your second toes. Do not let them fall wide or knock inward.
4. Side-Lying Clamshell (hip stability the yogi way)
Why: It activates your gluteus medius, a key stabilizer of the knees and hips; crucial for safe standing poses and lunges.
• Lie on your side with your head supported and knees bent at 90°.
• Stack your hips and keep your feet together.
• Slowly lift your top knee a few inches without rolling your pelvis back.
• Lower the knee with control.
Do 10–15 reps on each side, moving with gentle ujjayi breathing or steady nasal breaths.
This pose is not a “classic” yoga pose. Its aim is to protect your joints for standing poses.
5. Dynamic Half Forward Fold at the wall (hamstrings & spine)
Why: It lengthens the back body without overloading your knees or lower back.
• Stand facing a wall. Place your palms at shoulder height on the wall.
• Walk your feet back until your hips align over your ankles. Keep your arms straight and your torso parallel to the floor.
• Soften your knees a bit.
• Inhale and gently bend your elbows, bringing your chest closer to the wall.
• Exhale, straighten your arms, and lengthen the spine.
Move slowly for 8–10 breaths.
Keep more weight on your heels and do not lock your knees.
6. Supported Malasana (hips, ankles, low back)
Why: It opens ankles, knees, and hips deeply without pushing into the extreme range.
• Stand with your feet a bit wider than the mat. Turn your toes slightly out.
• Place a low block (or stacked blankets) under your sitting bones.
• Squat down on the support. Bring your elbows inside your knees and press your palms together at your heart.
Hold for 5–10 breaths.
Options:
• If your knees are sensitive, raise the height under your seat or choose a mild hip opener like Supta Baddha Konasana (Reclined Bound Angle) with props.
7. Supine “Windshield Wipers” (hips & lower back)
Why: It offers gentle internal and external rotation at the hips, easing the lumbar area.
• Lie on your back with knees bent and feet at mat width.
• Exhale and drop both knees to one side.
• Inhale and return them to center; exhale and drop to the other side.
Repeat slowly for 8–12 rounds.
If one side feels sticky, reduce the range until it feels supported.
8. Seated Wrist and Ankle Mobility (wrists & ankles)
Why: It helps two small but busy areas: the Chaturanga wrists and the balancing ankles.
• Sit on a block or folded blanket in a comfortable position.
• For the wrists: Extend one arm forward, palm down. With the opposite hand, gently flex, extend, and circle the wrist slowly. Switch sides.
• For the ankles: Extend one leg at a time and slowly circle the ankle 5–10 times in each direction. Then point and flex.
Think of these as pre-hab moves for your vinyasa and standing balances.
Alignment and prop hacks every joint-conscious yogi should know
A few simple shifts can change how your joints feel:
• Use blocks generously: Use them under hands in lunges, under the sacrum in Bridge, and under your sitting bones in forward folds.
• Micro-bend joints: Keep a slight bend in elbows and knees; do not push into full straightness.
• Widen your stance: In standing poses, a wider base can ease pressure on knees and hips.
• Manage load in vinyasas: Swap some Chaturanga moves for knee- or forearm-supported planks, or move directly into Down Dog.
Quick checklist for joint-friendly alignment:
• Knees should follow the line of your second toes in standing poses.
• Your weight should spread evenly over your hands, not just on the palm heels.
• Your shoulders should drop away from your ears.
• Your spine should stay long; do not round it to chase depth.
Supporting your joints off the mat
Your joint care happens off the mat too. Joint comfort comes from:
• Daily movement: Short walks, gentle stairs, and regular breaks from your desk.
• Strength training: Light use of resistance bands or bodyweight exercises once or twice a week can support your asanas.
• Balanced nutrition: Eat enough protein, stay hydrated, and get essential nutrients for your bones, muscles, and connective tissue (source: NIH Office of Dietary Supplements).
Many yogis also choose high-quality supplements for joint and muscle support. While supplements cannot diagnose, treat, cure, or prevent any disease, some ingredients help to:
• Maintain healthy cartilage and joint function.
• Support a balanced inflammatory response.
• Aid muscle recovery after practice.
Always talk to a healthcare professional before starting any supplement, especially if you take medication or have a health condition.
Regenerix Gold
For yoga practitioners in America who wish to sustain a lifelong practice—and value time, work, and long-term mobility—Regenerix Gold is positioned as a premium joint and muscle support supplement.
Regenerix Gold suits people who:
• Want to stay active, productive, and on their mats instead of in waiting rooms.
• Prefer proactive, daily self-care over crisis-driven solutions.
• Value high-quality formulas and want to care for their body’s structure.
Used alongside a regular yoga for joint pain routine, Regenerix Gold can be one part of a broader strategy to support healthy joints and muscles. It is not a substitute for medical care, diagnosis, or treatment. For many mindful practitioners, it is an extra tool in their wellness kit.
If you plan ahead and protect your body so you can keep showing up for your practice, your family, and your work, discuss Regenerix Gold with your healthcare professional to see if it fits into your long-term plan.
FAQ: yoga for joint pain and mobility
-
Is yoga good for joint pain and stiffness if I already practice regularly?
Yes—when done with care, yoga for joint pain and stiffness is supportive. Focus on alignment, use props, hold poses for a short time, and build strength. Avoid forcing deep stretches or pushing through pain. -
Which style of yoga is best for joint issues and mobility?
Gentle and alignment-focused styles—such as Iyengar, restorative, or slow flow—often work best for yoga for joint health and mobility. They allow time for prop use, gradual loading, and teacher feedback. -
Can I use yoga and supplements together for better joint comfort?
Many yogis mix yoga for joint support with healthy habits (like good sleep and nutrition) and, with guidance, supplements for joint and muscle care. Always check with a healthcare provider before beginning any new supplement and remember that supplements do not treat or diagnose conditions.
Commit to 15–20 minutes of this joint-wise sequence daily. Focus on alignment and treat your body as the long-term companion it is. With thoughtful yoga for joint pain and a caring support plan—including tools such as Regenerix Gold—you invest in a future of smooth flow, balance, and mindful meditation on your own terms.
Health Note
Always consult a licensed medical doctor for your health issues.
Special Discount
If you prefer preventive nutrition to minimize expensive knee surgery and potentially addictive pharmaceuticals, Regenerix Gold is your savvy solution.
You qualify for a special discount.
Simply use the link below and a discount will automatically be applied during checkout.
Get Regenerix Gold => HERE


