

If you log long miles and steep climbs, your downhill technique plays a key role in how you feel at the end of the day. When you descend, your legs, knees, hips, and back bear the impact. Good downhill technique helps distribute that impact evenly. It keeps your joints and muscles strong so you can pursue summits year after year.
Below is a hiker guide that uses simple, tight word links for clear meaning. It explains how to gain speed, control, and comfort on descents while caring for your body.
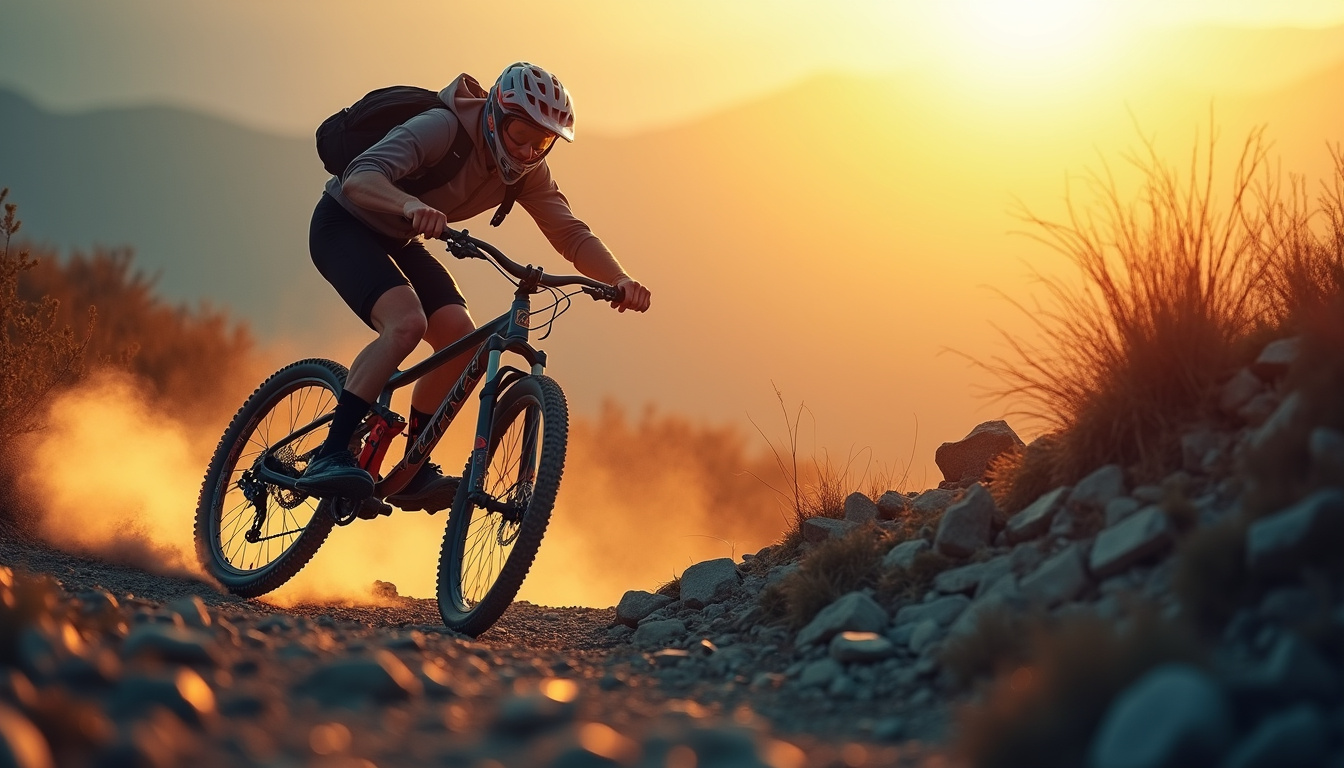
Why Downhill Technique Matters for Hiker Bodies
Hikers often say the uphill is hard, yet downhill forces take the real toll. Every step down sends impact through your feet, ankles, knees, and hips. On long days, you may feel:
• Achy or stiff joints post-hike
• Sore quads and glutes the next morning
• A cautious, braking gait that adds strain
A smart downhill technique spreads these forces. It gives you better control on rough trails and helps you rise in the morning without pain.
Foundation of Strong Downhill Technique: Posture and Body Position
Imagine your body as a shock absorber. How you place your weight and lean matters for control and comfort.
Stay Slightly Forward, Not Leaning Back
Many hikers lean back on steep slopes to feel safe. This move shifts your center of gravity behind your feet, forcing your quads and knees to break the force.
Do this instead:
• Keep a slight forward lean from your ankles.
• Imagine your chest moving just over your feet.
• Look ahead, not down at your toes.
This position keeps the force close and helps your legs roll with the terrain.
Softer Knees, Lower Stance
Locked knees do not absorb impact well.
• Keep your knees softly bent, like a mini squat.
• Lower your center of gravity a few inches.
• Allow your hips to flow with the trail.
A soft stance creates a spring-like effect that cushions impact.
Footwork: The Heart of Efficient Downhill Technique
Downhill hiking is like a controlled fall. Every quick step forms a link in the chain of a smooth descent.
Shorter Strides, Higher Cadence
Long strides can overload joints with each step.
• Use shorter steps that land right under your body.
• Increase your pace with a quicker cadence so each step bears less force.
• Avoid over-striding where your foot lands too far ahead.
This tight control preserves both balance and comfort.
Foot Angle and Landing
On smooth trails:
• Land on your midfoot or forefoot instead of a hard heel strike.
• Allow your heel to gently meet the ground without a harsh impact.
On rocky trails:
• Plant your feet flat for stability.
• Make tiny shifts in foot angle to match uneven surfaces.
Place your feet deliberately rather than tossing them forward.
Using Trekking Poles to Upgrade Your Downhill Game
For many long-distance hikers, trekking poles add extra support on descents.
Proper Pole Length for Descents
• Shorten your poles from their flat-ground length.
• On flat terrain, aim for a slight elbow bend beyond 90°.
This adjustment lets you plant poles further forward to share the load.
Plant Timing and Force Sharing
• Plant the pole slightly ahead and to the side of the downhill foot.
• Let your arm and core join the force share as you step.
• Angle your poles instead of jamming them straight down to gain braking power.
Done well, your poles act like extra legs that absorb impact.
Terrain-Specific Downhill Technique: From Scree to Slabs
Each downhill surface calls for a slight shift in technique.
Steep, Dry Dirt or Loose Gravel
• Stay light on your feet; avoid stomping.
• Angle your feet slightly across the slope on loose surfaces.
• Use micro switchbacks—small zigzags—to ease the descent.
Adjust your step angle within the trail rather than cutting the path.
Rocky, Technical Trail
• Slow your pace and aim for precise foot placements.
• Use three points of contact (two feet and one pole or vice versa).
• Step on the most stable, flat surfaces even if it means reaching a bit further.
Be clear about your next three steps and decide firmly.
Wet, Muddy, or Icy Sections
• Prioritize grip over speed; these spots cause injuries.
• Shorten your stride even more and lower your center of gravity.
• Look for textured surfaces like rock edges, roots, or gravel.
In cold seasons, traction devices can boost safety and confidence.
Strength and Conditioning for Better Downhill Comfort
Even the best technique needs strong muscles and joints to work well.
Focus Muscles for Descending
Focus on these areas:
• Quadriceps – brake the descent effectively.
• Glutes – offer power and stability.
• Hamstrings – balance your quads’ workload.
• Calves and Ankles – absorb shock and control foot placement.
• Core – stabilizes your upper body so your legs perform cleanly.
Off-trail exercises might include:
• Step-downs from a bench
• Forward and reverse walking lunges
• Single-leg balance drills
• Bodyweight squats and split squats
Always work within your comfort zone and check with a pro before starting new routines.
Managing Joint and Muscle Comfort on Big Descents
For long back-to-back hiking days, recovery is as important as technique.
On-Trail Habits
• Take short, strategic pauses on steep sections.
• Change pace: slow down for a few moments, then quicken again.
• Drink water and add electrolytes in the heat to support your muscles.
After-Hike Recovery
Help your body bounce back by:
• Doing gentle stretches or mobility work for hips, quads, and calves.
• Walking lightly instead of sitting immediately.
• Staying hydrated and eating a balanced meal to rebuild muscles.
Some hikers also add supplements for extra joint support. Always ask a healthcare professional if you have concerns.
Gear Tweaks That Improve Downhill Technique Instantly
Sometimes, small gear changes make a big difference.
• Footwear: Choose cushioned yet stable hiking shoes or boots that grip well.
• Lacing: Use heel-lock lacing to stop your foot from sliding forward.
• Pack Fit: Secure your hip belt and load lifters to keep your balance intact.
• Socks and Insoles: Quality socks and insoles share pressure and boost comfort.
Common Downhill Technique Mistakes Hikers Make
Avoid these habits that strain joints and muscles:
- Leaning back excessively – feels safe but adds knee strain.
- Over-striding – long steps send shock up your legs.
- Ignoring fatigue – tired muscles lose proper form; take resets.
- Death-gripping poles – wastes energy and diminishes balance.
- Staying “stiff” – tight legs and hips do not absorb shocks well.
Notice these patterns and adjust as you descend.
Simple Downhill Technique Drill You Can Practice This Week
On your next local hill, try a drill:
• Walk down slowly, exaggerating soft knees and short steps.
• Walk again with a slight forward lean, keeping weight over your feet.
• Add poles and focus on smooth, rhythmic planting.
• Repeat the section 3–5 times, tweaking your cadence and step length until it feels light.
This practice links your muscles and nerves for smoother mountain days.
FAQ: Downhill Technique for Hikers
Q1: How can I improve my downhill technique fast without running?
A: Use short steps, maintain a slight forward lean from the ankles, and keep your knees soft. Practice on a local hill with focused pole use and deliberate foot placement.
Q2: What is the best downhill technique for hikers with sensitive knees?
A: Do not lean back or over-stride. Keep your torso slightly forward and use a brisk step cadence with small steps. Rely on trekking poles, supportive footwear, and strengthen hips, glutes, and quads.
Q3: Does practicing downhill hiking technique really reduce muscle soreness?
A: Yes. Proper technique spreads impact evenly. Combine smart descent methods with steady training and recovery strategies to ease next-day soreness.
Supporting Your Downhill Ambitions: Where Regenerix Gold Fits In
For hikers chasing high peaks, tough backpacking trips, or simply a smooth descent, downhill technique is just one part of your success. Equally important is how your joints and muscles keep pace with your ambitions.
Many experienced hikers look beyond boots and poles. They add thoughtful supplements to support joint and muscle health. While no supplement can diagnose or cure, a quality product can help you maintain normal joint and muscle function, so you worry less about your body after a long day on the trail.
Regenerix Gold is made for trail-strong, goal-driven hikers. It helps you stay active now instead of risking injury or lost days later. Choosing a premium supplement is like fine-tuning your gear, training, and downhill technique—it is about being prepared instead of leaving it to luck.
If you value hiking smarter and want your joints as dialed in as your trekking poles and pack, consider Regenerix Gold as part of your routine. It supports confident descents and an active life for many seasons.
Regenerix Gold
Health Note
Always consult a licensed medical doctor for your health issues.
Special Discount
If you prefer preventive nutrition to minimize expensive knee surgery and potentially addictive pharmaceuticals, Regenerix Gold is your savvy solution.
You qualify for a special discount.
Simply use the link below and a discount will automatically be applied during checkout.
Get Regenerix Gold => HERE

