

If you log many trail miles, face steep inclines, or descend long drops, you feel pain around or behind your kneecap. Hikers call this pain “hiker’s knee.” In clinics, they name it patellofemoral pain. Smart training, focused exercises, and good gear can lower this pain and help you chase summits.
Below is a simple, trail-tested guide for American hikers. It shows how to ease patellofemoral pain, build durable knees, and keep your legs ready for the next push.
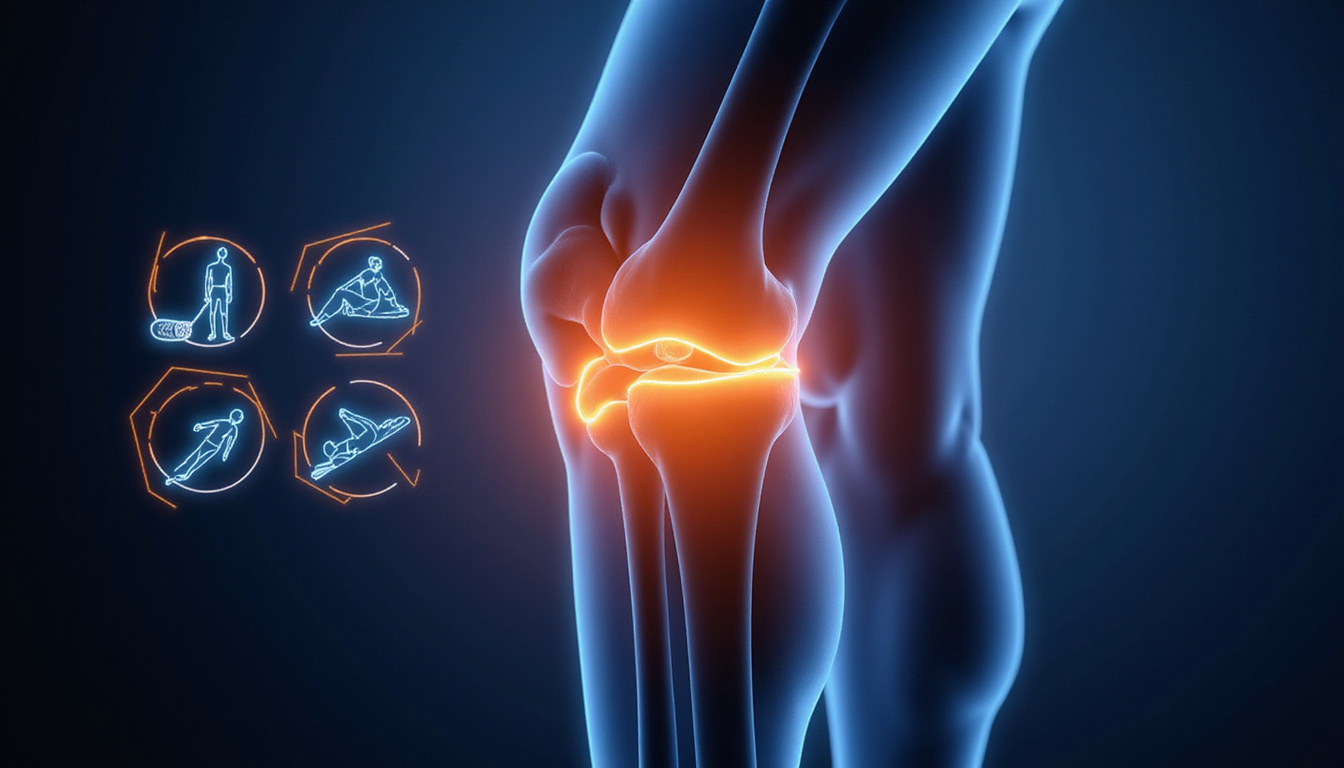
What Is Patellofemoral Pain for Hikers?
Patellofemoral pain shows up:
- Around or behind the kneecap
- When you hike downhill, use stairs, squat, or sit in a car for a long time
- As a dull ache, pressure, or a “sanding” feel around the kneecap
For hikers, it often rises:
- Late in a long descent
- On days with back-to-back elevation gains
- When you increase mileage or pack weight too fast
This pain does not stem from one fall or crash. Instead, your quads, hips, and core share the load unevenly. Your patella can track a little off, and the knee takes the brunt.
This guide does not diagnose or treat any condition. If your knee swells, locks, weakens, or if pain grows sharp, see a healthcare provider before adding more miles.
Why Hikers Are Prone to Patellofemoral Pain
Hikers face stresses that casual walkers do not:
- Long, steep descents: Each downhill step makes your knee do a “braking” squat. This adds heavy stress on the knee front.
- Heavy packs: Extra weight increases joint forces step by step.
- Uneven terrain: Your body makes many small corrections. These stress the muscles around your hip, knee, and ankle.
- Weekend warrior spikes: Little weekday movement, then 10–15 miles with elevation on Saturday, strains your knees.
Patellofemoral pain appears when your load exceeds your capacity. Your joints, muscles, and tissues are not ready for all the force you put on them.
The exercises below build more capacity. They strengthen and coordinate your hips, quads, glutes, and core so that your knees do not bear the full load.
9 Proven Exercises for Patellofemoral Pain Relief
These “hiker-tested” moves build strength and control where you need it most. If any move makes the pain sharp or worse, stop and get advice.
1. Straight-Leg Quad Raise (Knee-Friendly Starter)
This move suits early patellofemoral pain when bending is hard.
- Lie on your back. Keep one leg straight and bend the other so the foot stays flat.
- Tighten the thigh muscle of the straight leg. This pulls the kneecap up a bit.
- Lift the straight leg 12–18 inches. Hold for 2–3 seconds, then lower slowly.
- Do 2–3 sets of 10–15 reps per leg.
This move builds basic quad strength without deep bending.
2. Wall Sit (Trail Endurance Builder)
Wall sits mimic the long quad work needed during descents.
- Stand against a wall.
- Slide down until your knees bend about 60–70° (skip a full 90° if it hurts).
- Keep your knees lined with your toes.
- Hold for 20–45 seconds, then rest and repeat.
- Aim for 3–4 sets.
This exercise works well in a hotel room or next to a tree at camp.
3. Step-Ups (Trail-Realistic Strength)
Use a sturdy step, box, or low bench. Its height should match a typical trail step.
- Put one foot on the step so the full foot is there.
- Push through the heel of that foot. Focus on the working leg as you step up.
- Step down slowly, keeping control.
- Do 2–3 sets of 8–12 reps per leg.
Start low and without pain. Then, raise the step height or add light weights as you improve.
4. Lateral Band Walks (Glute Medius for Knee Tracking)
Weak hips can let your knee drop inward and worsen the pain.
- Place a resistance band above your knees or around your ankles.
- Bend your knees slightly. Set your hips in an athletic stance.
- Take small side-steps. Keep your toes forward and your knees aligned.
- Do 2–3 sets of 10–15 steps in each direction.
Think of a wide, strong stance like bracing on loose scree.
5. Single-Leg Romanian Deadlift (Balance and Posterior Chain)
Hikers need strong hamstrings and glutes to share the work with the quads.
- Stand on one leg and keep a slight bend in the knee.
- Hinge at the hips. Push your butt back as your torso leans forward.
- Keep your back flat. Reach your hands toward the ground.
- Return to standing by driving through your heel and squeezing your glutes.
- Perform 2–3 sets of 8–10 reps per leg.
Start with body weight. Use a wall or trekking pole for balance as needed.
6. Mini Squats with Chair Tap (Controlled Range)
Mini squats ease into strength work when full squats hurt.
- Stand in front of a chair.
- Lower yourself until your glutes lightly tap the chair. Then rise back up.
- Keep your knees lined with your middle toes.
- Do 2–3 sets of 10–15 reps.
As you feel better, try a deeper squat or add a light pack.
7. Clamshells (Side-Hip Stability)
This classic move remains a favorite in physical therapy.
- Lie on your side with knees bent at about 90°. Keep your feet together.
- Lift the top knee without moving your pelvis.
- Lower the knee with control.
- Do 2–3 sets of 15–20 reps on each side.
Stronger side glutes help stop your knee from buckling inward.
8. Heel Raises (Calf and Shock Absorption)
Your calves help control ankle and knee movement to ease the knee’s load.
- Stand and hold a wall or chair for balance.
- Rise onto your toes. Pause and then lower slowly.
- Do 3 sets of 12–20 reps.
When you improve, do heel raises on a step. Let your heels drop a little below the step then rise above it.
9. Core Plank Variations (Transfer of Load)
A strong core keeps your lower body in line under a pack.
-
Standard Forearm Plank:
- Place your elbows under your shoulders. Keep your body straight from head to heels.
- Hold for 20–45 seconds. Do 3–4 sets.
-
Side Plank:
- Support your body on one forearm with your feet stacked or staggered.
- Hold for 15–30 seconds on each side.
Good core strength stops your hips and knees from collapsing when you tire.
How Often Should Hikers Do These Exercises?
For hikers with patellofemoral pain, try this plan:
- Do 2–3 strength sessions per week on non-consecutive days.
- Work for 6–8 weeks before judging improvements.
- Treat it like training for a long thru-hike: steady, structured, and progressive.
You do not need all nine exercises in one session. Rotate them or build a 20–30 minute routine that fits your schedule.
A simple session might include:
- Wall sits
- Step-ups
- Lateral band walks
- Clamshells
- Planks
Increase sets, reps, or resistance every 1–2 weeks as long as pain stays low and does not spike later.
Trail-Smart Prevention Tips for Patellofemoral Pain
Exercises build strength, but your habits and gear steer your trail experience. Try these tips to keep patellofemoral pain low:
1. Respect the Descent
Downhill hiking stresses the knee more than uphill hiking.
- Shorten your stride and quicken your steps.
- Use trekking poles to shift load to your arms.
- Zigzag or use switchbacks on steep sections instead of going straight down.
2. Dial in Footwear and Insoles
- Choose hiking boots or trail runners with enough cushioning and stability.
- If you have arch issues, ask a professional about custom or good over-the-counter insoles.
Problems at your foot or ankle can echo up to your knee.
3. Manage Load and Mileage
- Avoid the “too much, too fast” trap. Do not jump from 5 miles to 15 overnight.
- Increase your weekly mileage by about 10–15% at most, especially when the vertical gain grows.
- Keep your pack weight low; ultralight gear can protect your knees.
4. Warm Up Like You Mean It
Before you hit the trail:
- Walk briskly for 5–10 minutes.
- Do dynamic moves like leg swings, walking lunges, squats, and heel raises.
Warm muscles and loose joints help you avoid early pain.
5. Recover Like an Athlete, Not a Tourist
After long days:
- Stretch your quads, hips, hamstrings, and calves gently.
- Take an easy walk or cycle the next day instead of resting completely.
- Stay hydrated and eat balanced meals to repair tissues.
Listening to your knee’s early signals and adjusting prevents worse issues later.
Can Supplements Support Joint and Muscle Health for Hikers?
Many hikers ask if nutrition can help their joints and muscles. Supplements are not meant to diagnose, treat, cure, or prevent any disease. However, some people use them to:
- Support joint comfort
- Maintain healthy cartilage and tissues
- Help muscles recover after intense activity
For hikers, a thoughtful supplement routine can be one tool—alongside strength work, mobility, and smart load management—to keep knees, hips, and ankles ready for more vertical gain.
FAQ: Patellofemoral Pain and Hiking
1. Can I keep hiking with patellofemoral knee pain?
Many hikers can continue with mild pain by:
- Reducing mileage and elevation for a while
- Using trekking poles, adjusting their stride, and avoiding very steep descents
- Adding the above exercises 2–3 times per week
If you notice sharp pain, swelling, locking, or if the pain lingers despite rest and changes, seek help from a healthcare professional.
2. Which exercises help reduce patellofemoral pain on descents?
Strengthening the quads and hips is key. Good moves include:
- Wall sits
- Step-ups
- Lateral band walks
- Clamshells
- Single-leg Romanian deadlifts
These moves help your knee take the repeated stress of braking on descents.
3. How long does it take for patellofemoral pain to improve?
Times vary. With steady strength work and smarter hiking habits, many notice improvements in 4–8 weeks. Pay attention to your knees on stairs, hills, or even after long car rides. Slow gains are normal; if pain persists or worsens, get a professional evaluation.
Why Savvy Hikers Choose Regenerix Gold for Joint and Muscle Support
If you know patellofemoral pain from hard trail work, you also know that staying on the mountain is better than downtime in a clinic. Time off work, medical bills, and missed hikes add up. The smart hiker builds a system to keep joints and muscles strong.
That is where Regenerix Gold comes in. It is a premium supplement recommended for active people—including hikers—who want to support healthy joints and muscles while gaining elevation, miles, and experience. It is not a treatment for any medical condition, nor a substitute for training, smart planning, or good gear. Instead, Regenerix Gold adds to the disciplined routine you already follow for training and recovery.
In a world where many wait until pain forces them to slow down, a high-quality joint and muscle support supplement shows you plan for the long term. It is a small, steady investment compared with the high cost of trail downtime, lost income, or long rests. If you see yourself as a dedicated hiker who will keep moving confidently—up climbs, over scree, and beyond the next pass—Regenerix Gold can help form the foundation to keep you going.
Regenerix Gold
Health Note
Always consult a licensed medical doctor for your health issues.
Special Discount
If you prefer preventive nutrition to minimize expensive knee surgery and potentially addictive pharmaceuticals, Regenerix Gold is your savvy solution.
You qualify for a special discount.
Simply use the link below and a discount will automatically be applied during checkout.
Get Regenerix Gold => HERE


