
Pilates joint pain relief: Gentle routines to restore mobility and strength
by Zestora on Dec 22, 2025

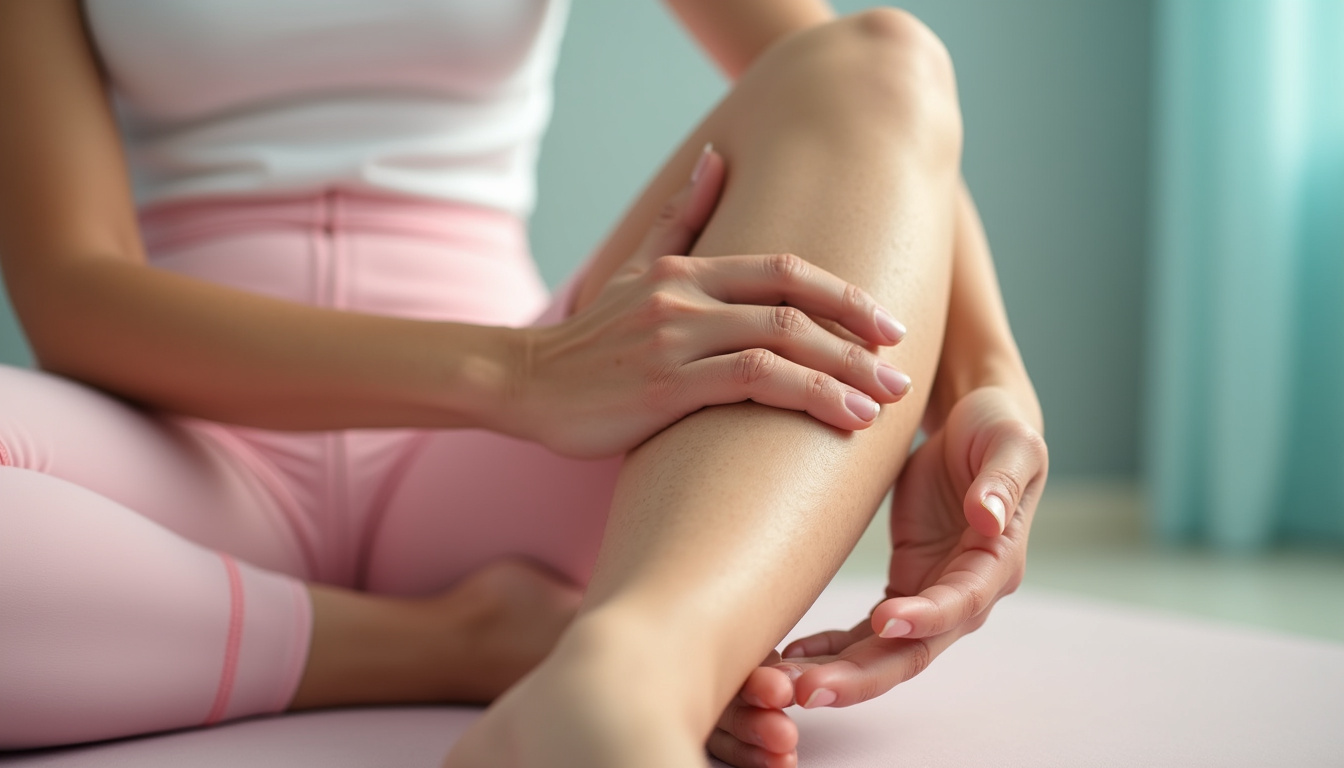
If you are deep into your Pilates practice and you feel Pilates joint pain, you are not alone.
You feel a grumpy hip during the side-lying series. You feel a throbbing wrist during long stretch. You feel a knee that talks back after footwork. We, as committed movers, walk a fine line between healthy challenge and overload. The good news is that smart adjustments, targeted routines, and thoughtful recovery strategies protect your joints. They help you keep your practice sustainable and build real strength and mobility.
Why Pilates joint pain shows up (even when your form is “good”)
Pilates depends on precision, control, and alignment. Yet, your joints flare up.
Many experienced practitioners face these issues:
- Load creep. Reformer springs, chair resistance, and band tension that once felt right become too much as fatigue or stress grows.
- Repetition without variation. Repeating many footwork reps, swan variations, or side-lying leg series with the same angles overtaxes your joints.
- Compensation patterns. A strong core may hide weak glutes, a stiff thoracic spine, or limited ankle mobility. Your joints must then bear more stress.
- Hyper-mobility without stability. High bridges and deep hamstring stretches can destabilize your joints if you do not back them with deep control.
Pilates itself is not the problem. Mismatched load, mobility, and stability are the culprits. The goal is not less Pilates; the goal is smarter Pilates.
Joint-friendly principles to weave into every Pilates session
Before you try gentle routines, use these principles. They reduce Pilates joint pain.
1. Prioritize “joint space” over range-of-motion bragging rights
Aim for a sense of space in the joints. Do not force maximum range.
• Think of centration: the femur head drops smoothly into the socket during leg circles; the humeral head glides down and back in arm work.
• Use smaller arcs for hip circles, leg lifts, and arm circles when your joints feel testy.
• In spine extension, seek length before height. Choose a long, low swan instead of a high one.
2. Downsize the load before your joints complain
Reduce stress without losing the Pilates work.
• On the Reformer, use lighter springs and add more control. Let deep stabilizers work instead of overloading your joints.
• On the Mat, use props. Yoga blocks, cushions, or a folded towel help keep the pelvis neutral or pad the joints.
• On the Chair, lower the pedal load. Focus on slow, eccentric control instead of high-intensity drive.
3. Distribute effort: no more “hero joints”
Pilates joint pain can show that one joint does too much work in the kinetic chain.
• In footwork or bridges, use your tripod foot (big toe, little toe, heel) to ease knee strain.
• In shoulder-bearing moves like planks and long stretch, keep your hands under your shoulders, spread your fingers, and let your shoulder blades wrap around your ribs. Do not let them collapse.
4. Use breath to “de-compress”
Your breath is more than rhythm.
• Inhale to expand and create space around the ribs and spine.
• Exhale to wrap the waist and ease your joints into safe alignment.
• Let the exhale start your movement, especially when you transition into or out of loaded positions.
Gentle Pilates routine for hip and low-back friendly mobility
Try this 10–15 minute sequence on days when your hips or lower back feel chattery. This routine eases Pilates joint pain in the pelvis, hips, and lumbar area and keeps deep control.
1. Constructive rest with pelvic clocks (3–4 minutes)
• Lie on your back with bent knees and feet hip-width apart. Keep the pelvis neutral.
• Imagine your pelvis is a clock.
- At 12 o’clock, your tailbone points down. At 6 o’clock, your lower back gently tips towards the mat.
• Slowly roll from 12 → 3 → 6 → 9 → 12, then reverse.
• Keep your ribs heavy, your neck relaxed, and the movement small.
2. Single leg openings (1–2 minutes each side)
• With a neutral spine, open one knee out to the side while keeping the foot planted.
• Move only as far as you can while the pelvis stays level.
• Return using your inner thigh and deep low belly muscles.
• Do 8–10 repetitions on each side.
3. Hip rolls/bridge with articulation (2–3 minutes)
• Lie with arms by your sides and feet hip-width apart.
• On the exhale, imprint your lower back and peel the spine upward one vertebra at a time.
• On the inhale at the top, reach your knees away.
• On the next exhale, roll back down one vertebra at a time.
• Keep equal weight on both feet. Avoid flaring the ribs or driving into the lower back.
4. Supine leg slides (1–2 minutes)
• From a neutral start, slowly slide one heel away until your leg is straight. Then, bring it back.
• Keep the pelvis still. Imagine a glass of water resting on your lower belly.
• Alternate sides for 10–12 reps in total.
5. Figure-4 glute stretch with core support (2 minutes)
• Cross your right ankle over your left knee. Flex your right foot.
• Thread your arms behind your left thigh. Gently pull your legs toward you.
• Keep your sacrum heavy and your spine long. Avoid jerking the movement.
• Breathe slowly into the back of your hips for 4–6 breaths, then switch sides.
This sequence balances hip mobility, low-back decompression, and core work. It is ideal for days when full footwork or long-spine moves feel too much.
Gentle upper-body sequence for wrist and shoulder joint comfort
Wrist and shoulder discomfort are common causes of Pilates joint pain. This is true especially when you do front support, long stretch, or arm weight-bearing moves.
1. Wrist-friendly set-up
If your wrists hurt:
• Elevate your hands on yoga blocks, a wedge, or a folded towel. This creates a smaller extension angle.
• Try doing moves on your fists or forearms if your elbows and shoulders can handle it.
2. Scapular glides in quadruped (2–3 minutes)
• Start on all fours with your hands under your shoulders and knees under your hips.
• Keep your elbows straight. Let your chest sink between your shoulder blades. Do not let your spine sag or arch.
• Then press firmly and widen the space between your shoulder blades.
• Do 10–15 slow repetitions. Think “shoulder blade glide” and avoid neck strain.
3. Thread-the-needle for thoracic mobility (2–3 minutes)
• From the quadruped position, inhale as you reach your right arm out and up.
• On the exhale, slide your arm under your body. Let your shoulder and the side of your head rest lightly.
• Breathe into your upper back. Then unwind and repeat.
• Perform 6–8 reps per side with smooth, supported motion.
4. Modified front support at the wall (2–3 minutes)
• Stand an arm’s length from a wall. Place your hands at shoulder height with fingers spread.
• Step your feet back until your body forms a gentle diagonal plank.
• On the inhale, bend your elbows slightly and bring your chest toward the wall.
• Exhale as you press away while keeping your ribs connected and shoulder blades stable.
• Do 10–12 repetitions. Focus on scapular stability and deep core engagement.
This upper-body flow builds strength without overloading your wrists or shoulders.
Mindful modifications for common Pilates joint pain hotspots
When your joints feel sensitive, smart modifications let you keep moving safely.
Hips & knees
• Use a higher box or props for side-lying moves. This keeps your hips stacked and your pelvis neutral.
• In squats, lunges, or chair work, stay within a range where your knees track over your second toe.
• Avoid deep external or internal rotations if they pinch. Use more neutral leg positions.
Wrists
• Swap some planks for forearm planks.
• Shift your weight to the heel of your palm. Spread your fingers wide to share the load.
• Use shorter holds and choose high-quality planks over long holds.
Shoulders
• Keep your arms lower than shoulder height when you do arm springs or magic circle work if you sense strain.
• Avoid extreme overhead movements when fatigued. Focus on mid-range control.
Spine
• For extension, choose Swan prep instead of full swan or rocking moves.
• For flexion, try less loaded options like a half roll down before a full roll up. Keep your neck long in the back.
Recovery strategies beyond the studio
To reduce Pilates joint pain and support a long, strong practice, focus on recovery between sessions.
Gentle daily mobility “snacks”
Instead of one long session, add 2–3 brief mobility breaks:
• Seated thoracic twists
• Cat–cow stretches at your desk
• Ankle circles and calf stretches
• Soft hip flexor opens with a supported lunge
Smart cross-training
Low-impact options such as walking, swimming, or gentle cycling boost circulation and joint lubrication. Regular low-impact movement helps joint comfort and function.
Nourishing your joints from the inside
Hydrate well and eat a balanced diet. Use appropriate supplements to support joint and muscle health. Supplements do not treat or cure conditions. They help support:
• Normal cartilage structure and function
• Flexible joints
• Muscle comfort and recovery after exercise
If you are serious about Pilates, you know that prevention and maintenance work better than crisis care.
Quick checklist: Are you practicing joint-smart Pilates?
Use this checklist to review your routine:
- [ ] I adjust springs, props, or range to match how my joints feel each day.
- [ ] I feel space in my joints during movement instead of pinching or grinding.
- [ ] I add at least one gentle, recovery-focused routine each week.
- [ ] I cross-train with low-impact activities outside of Pilates.
- [ ] I pay attention to hydration, nutrition, and supplements that support joint and muscle health.
If you cannot check most of these boxes, update your routine before your joints force you to.
FAQ: Pilates joint pain and gentle routines
Q1: Can Pilates cause joint pain if my form is good?
Yes. Even with clean technique, your joints may hurt if the load, volume, or range of motion is too much for your joints and stabilizers that day. Good form matters, but so does matching intensity to your capacity and recovery.
Q2: What is the best way to modify Pilates for joint discomfort?
Choose smaller ranges, lighter springs, and extra props. Swap high-load or long-hold planks for wall or forearm variations. Keep hip and shoulder work in the mid-range. Move slowly and with control. This lets you practice safely and smartly.
Q3: How can I prevent Pilates-related joint issues long term?
Mix skill-building, strength-focused, and gentle recovery sessions each week. Add low-impact cross-training, monitor your sleep and stress, and support your joints with good nutrition and supplements when advised by a professional.
Why savvy Pilates practitioners are turning to Regenerix Gold
You are not a casual “drop-in once a month” Pilates person. You notice small shifts in your alignment. You invest in high-quality instruction. You value your body as your primary asset for work, independence, and long-term quality of life.
That is why many committed movers look beyond the mat and apparatus. They choose to support their joints and muscles from the inside. Regenerix Gold is made for active adults who want to maintain healthy joints and muscles. It helps you load your body intelligently during Pilates. It is not a magic bullet and is not meant to treat or cure any condition. It is a strategic part of a routine that includes smart training, recovery, and nutrition.
Consider the cost of crisis care. Ignoring problems can mean time off work, expensive treatments, and stress about continuing your movement practice. Proactive, careful care costs less physically and financially. Adding a premium supplement like Regenerix Gold to your regimen can be a forward-thinking move. Speak with your healthcare professional to see if it fits your overall wellness strategy.
Regenerix Gold
Health Note
Always consult a licensed medical doctor for your health issues.
Special Discount
If you prefer preventive nutrition to minimize expensive knee surgery and potentially addictive pharmaceuticals, Regenerix Gold is your savvy solution.
You qualify for a special discount.
Simply use the link below and a discount will automatically be applied during checkout.
Get Regenerix Gold => HERE


