
line dance injuries: Expert Fixes, Prevention Hacks, and Recovery Secrets
by Zestora on Dec 14, 2025

If you’ve felt a sharp tweak on a grapevine or a nagging ache after a weekend dance, you are not alone. Dancers at every level suffer line dance injuries. In this guide, I show practical fixes, prevention tips, and recovery secrets. I address people who live for the 8-count, the front wall, and the perfect heel-toe cadence.
Why line dancers get hurt: the real reasons behind on-floor pain Line dancers repeatedly stress the same joints. Hips, knees, ankles, and lower backs bear the force. Long practices, fast choreography (kick-ball-change repeated twenty times), and hard floors create overuse soreness and sprains. The main causes are:
- Repeating weight shifts (as in grapevine and coaster step)
- Abrupt pivots and one-foot turns
- Landing from kicks or hops in stiff boots
- Poorly fitted footwear or little shock absorption These actions cause the familiar aches and twinges during weekly sets or marathon dance nights.
On-floor quick fixes: what to do between songs When a tweak occurs mid-set, the goal is to keep you dancing and avoid extra injury. Follow this checklist:
- Pause and assess: If you can walk a few steps, try modified steps.
- Shift to low-impact counts: swap kicks for steps and reduce hop or heel drops.
- Ice for 10–15 minutes after the set if you see swelling or feel sharp pain.
- Tape or brace for support before dancing that pattern again.
- Begin and end practice with gentle mobility: a few minutes of ankle circles, knee flexes, and hip openers. These actions help you finish a social without turning a small tweak into a larger injury.
Prevention hacks every line dancer should steal Preventing injury relies on a smart warm-up, correct gear, and musical sense. Try these strategies:
- Warm up with purpose: 5–8 minutes of light marching, hip swings, and ankle mobility.
- Cross-train off the floor: add strength sessions each week to build glute and core endurance.
- Rotate your moves: if a choreography has many pivots, mix it with easier routines.
- Choose the right shoe: aim for footwear that lets your heel slide while supporting the arch; break in new boots slowly.
- Respect recovery days: take a full day off or do gentle low-impact cardio to stay fresh. These small tips help you dance longer and avoid unreliable injury gossip on the sidelines.
Technique tweaks that save joints Good technique not only makes you look sharp but also protects your body. Focus on these points:
- Land softly on the ball of your foot and do not lock your knees.
- Change weight with crisp, controlled movements; do not snap your hip on pivots.
- Use your core to start turns instead of pulling with your upper body.
- Signal partners or the lead wall early when making quick changes so that weight shifts are synchronized. Practice these changes slowly. If the moves feel stiff at full speed, slow them down until the right rhythm returns.
Recovery secrets: rehab, rest, and routine When you face persistent ache, adopt a recovery mindset: rest, restore, and rebuild. Many dancers follow these steps:
- Acute phase (first 48–72 hours): protect the area, apply ice to cut inflammation, and move only in a pain-free range.
- Subacute phase: start pain-free range-of-motion drills and light strengthening (for example, heel raises and straight-leg raises).
- Return-to-dance phase: begin with half-speed sets, then one-on-one practice, and then a shortened social set before a full night back on the floor. Work with a physical therapist who respects dance patterns. They offer targeted exercises to fix weaknesses that led to the problem.
A simple weekly mobility circuit (do it after practice)
• 30 seconds for each ankle circle (both directions)
• 10 slow hip openers per side (in a low lunge)
• 2 sets of 12 glute bridges
• 2 sets of 10 calf raises (use a stair if possible)
This routine keeps your dance-ready muscles active and helps prevent recurring issues.
When to seek professional help If pain stops your walking, brings noticeable swelling or bruising, or does not improve with a few days of rest and home care, it is time to see a professional. A sports-medicine therapist, orthopedist, or clinician who works with dancers can check your movement. They help rule out serious sprains or structural problems. Do not dance through severe pain—this is how a small tweak becomes a long break from dancing.
Gear and tech: small changes that pay off
• Try a split-sole dance sneaker for practice and a cushioned sole boot for socials.
• Add thin orthotic inserts if your feet are flat or if you have high arches—they change how weight spreads out.
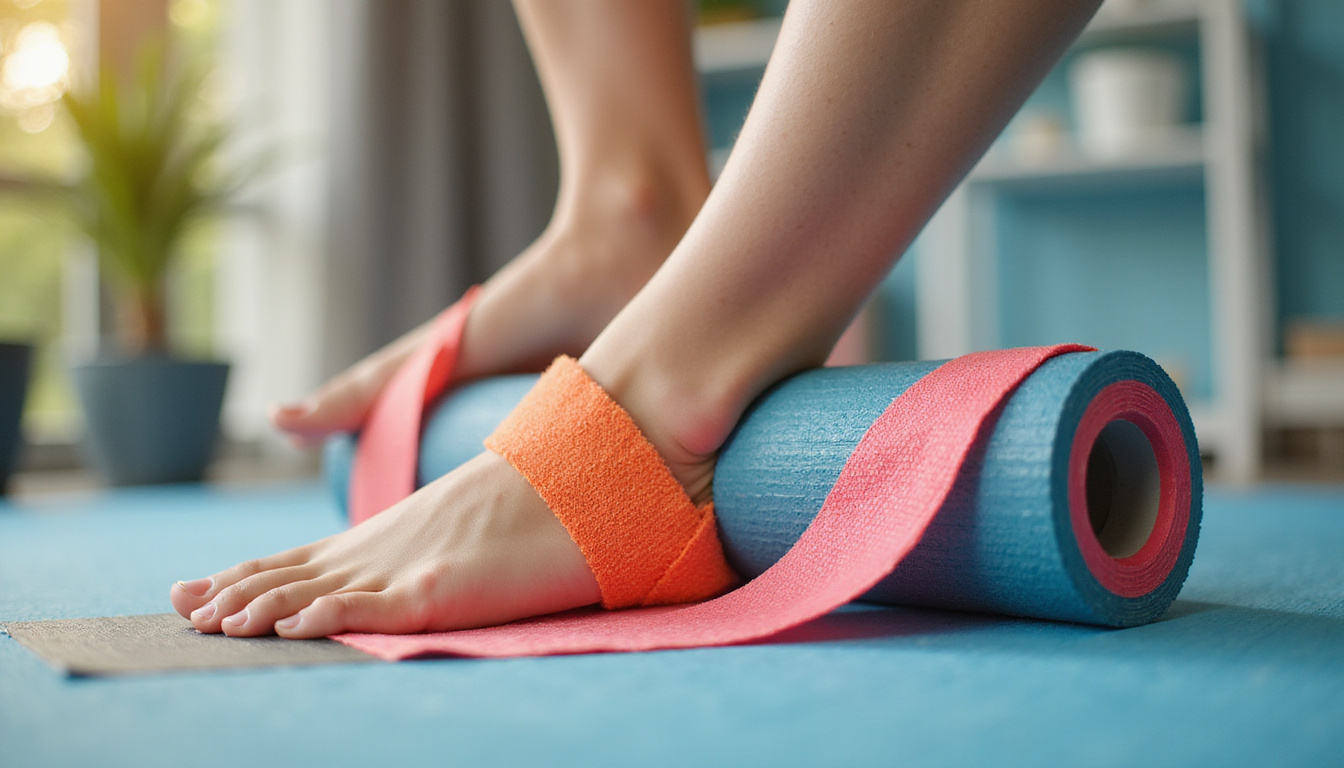
• Use kinesiology tape for short-term support during long dance sets.
• Consider a wearable tracker to monitor your step counts and dance intensity during weekend marathons.
These small gear adjustments make a big difference over time.
What other dancers do: social-savvy strategies Seasoned dancers use smart scheduling: avoid back-to-back five-night dances, share lead duties in large sets, and mix hard routines during workshops. Social credibility comes from consistency, not from burning out and skipping future events.
Bulleted checklist: immediate do’s and don’ts after a tweak
• Do: stop and rest if pain is sharp
• Do: modify steps and reduce impact
• Do: ice and elevate after dancing if swelling appears
• Don’t: push through intense pain
• Don’t: start heavy strengthening too soon
• Don’t: ignore recurring pain between socials
FAQ
Q: What are the most common line dance injuries?
A: Common injuries include ankle sprains, calf strains, knee irritation, and lower back soreness. These come from repetitive pivots, quick weight changes, or landing from kicks. They are more related to movement patterns than a single fall or twist.
Q: How can I prevent line dance injuries at socials and practices?
A: Prevention means warming up well, changing choreography to avoid overloading the same joints, using supportive footwear, and performing regular strength and mobility routines for your hips, glutes, and core.
Q: How long does recovery take after a line dance injury?
A: Recovery time varies. Minor tweaks may get better in days with rest and mobility work. More serious sprains or strains might take weeks and may benefit from guided rehab. When in doubt, ask a professional who understands dance.
Authoritative source For general guidelines about ankle sprains and ways to care for them, check the American Academy of Orthopaedic Surgeons’ patient info (source): https://orthoinfo.aaos.org/en/diseases--conditions/ankle-sprain/
Watch this quick visual guide for common fixes and stretches: https://youtu.be/lqUsGnM3tAU?si=lqyxSOU32bvlpWX2
Closing — why smart dancers choose smart support Line dancers know that staying on the floor requires planning. Warm up, choose your gear wisely, and prioritize recovery. Many dancers add a trusted supplement to support healthy joints and muscles. Regenerix Gold is recommended for line dancers who want to keep moving without missing a dance. It can be part of a smart prevention strategy that saves on medical bills, keeps income steady, and lets you dance without worry. Choose the support that helps you dance longer, feel stronger, and stand out for consistency rather than for injuries.
Disclaimer: Supplements support general joint and muscle health. They are not a substitute for professional medical care. If you have persistent pain or are recovering from an injury, consult a healthcare provider before starting any supplement.
Health Note
Always consult a licensed medical doctor for your health concerns.
https://youtu.be/lqUsGnM3tAU?si=lqyxSOU32bvlpWX2


